
Last updated on June 26th, 2022 at 11:41 am
If you already disabled the default wp-cron.php file for your WordPress site, you may need to create a manual cron job depending on your site’s needs. Most of the hosting providers offer the option to create such cron jobs directly from cPanel.
In my example, I used a GoDaddy managed WordPress account and the steps are identical for every hosting provider that uses cPanel.
Create a manual cron job for your WordPress site
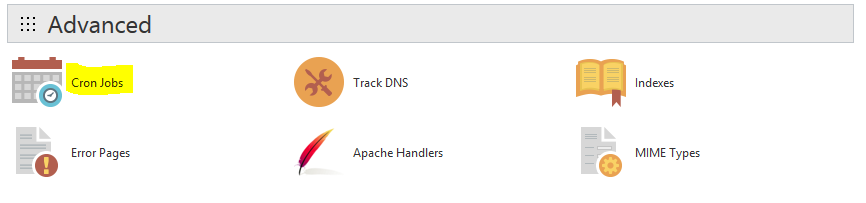
1. Access your cPanel, scroll down to the Advanced section and click on Cron Jobs.
2. On the next screen you select the type of your cron job. This can be a cron job executed every minute, every hour, every day, every month and so on.

If you already disabled the default wp-cron.php module of your WordPress site, you can now create a cron job for wp-cron.php manually from this section of cPanel. Let’s assume that you’d like to have your wp-cron.php run every fourth hour every day.
3. Locate the Hour section and select Every Fourth Hour (*/4) option from the drop-down.
4. Now have a look at the following command, substitute the cPanel-username with your own cPanel username and paste the command in the Command field.
cd /home/cPanel-username/public_html/your-site-installation-folder; php -q wp-cron.php
Make sure that you use the correct path where your site is installed.
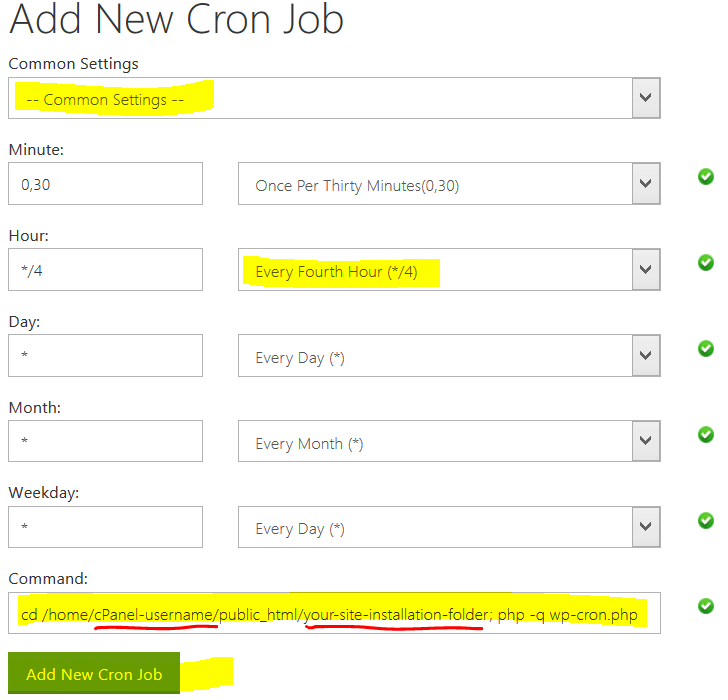
5. Click on Add New Cron Job to save and start the cron job.
Congrats! Now you have control over your wp-cron.php job. It will run every 4 hours and not every time a user visits your site!