Last updated on June 26th, 2022 at 11:41 am
In this quick tutorial, I’m going to show you how install WordPress manually from cPanel. On a webhosting account, no matter which is your hosting provider.
I’ll give a shout-out for my web host InMotion Hosting. They’re a good web hosting business and they have good plans. I’ve used them for a long time and they’re very reliable.
What is the first thing you want to do if you want to install a WordPress site on your web hosting account? You need to log into the administrative side of your web hosting account.
For InMotion Hosting, they use cPanel.
I need to log in to my cPanel account. I’ll put in my domain name here, forward slash cPanel. Just like yoursite.com/cpanel

Whatever your domain is, you just put /cpanel on the end and you’ll get to the cPanel.
When I hit enter it’ll give me a login screen. And from here, I need to put in my username and my password and then login.
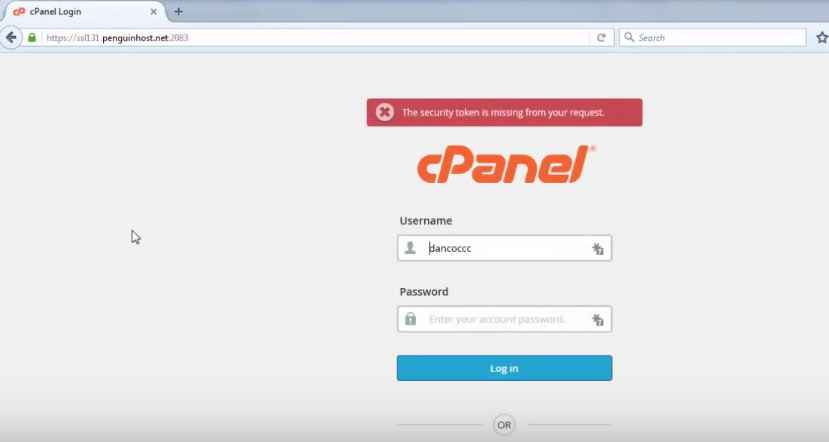
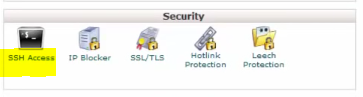
When you successfully log in, you’ll see that you’re in cPanel or control panel.
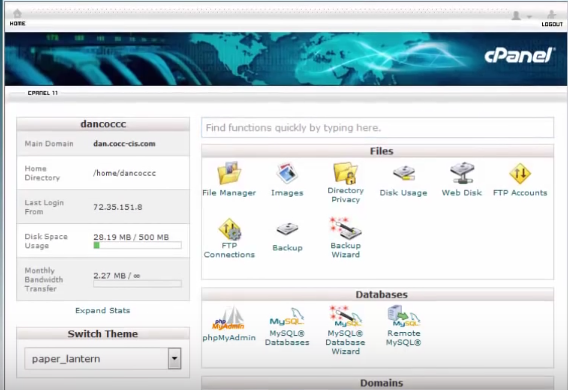
Now, this is an administrative back-end to administer your web hosting account. You’ve got lots of tools in here that you can use to help you.

Install WordPress Yourself, Without the Help of a One-click Installer
To do that, first thing I’ll need to do is upload WordPress to my web hosting account.
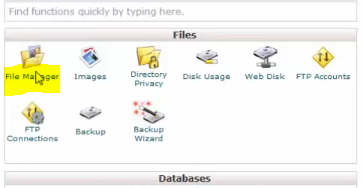
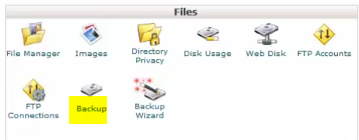
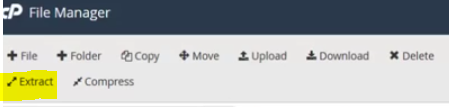
In order to do that I’m going to use the File Manager.
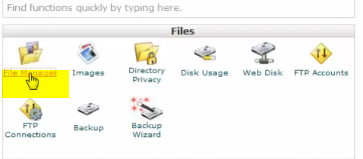
I’ll click on File Manager and from here I need to go into my public_html folder.

This is where all the files go for my websites that I need to create. This is where all my web content goes – in the public_html folder.
To go into there, I just double click on the little symbol of a planet. And now I’m inside of my site.
There’s a CGI-bin for CGI scripts and I have just a home page for my site.
Right now this is just a simple Hello Everyone homepage with some basic HTML. This is where I need to upload WordPress.
Hopefully you’ve already downloaded WordPress from wordpress.org. If you haven’t, you’ll want to download WordPress. You download it right from wordpress.org. And then once you’ve done that, all you need to do is upload it into here.
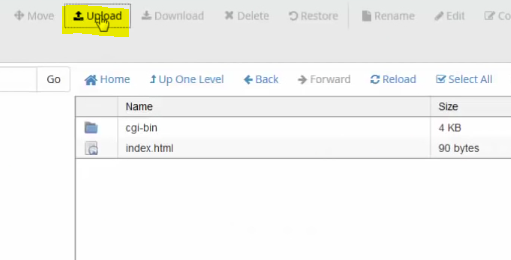
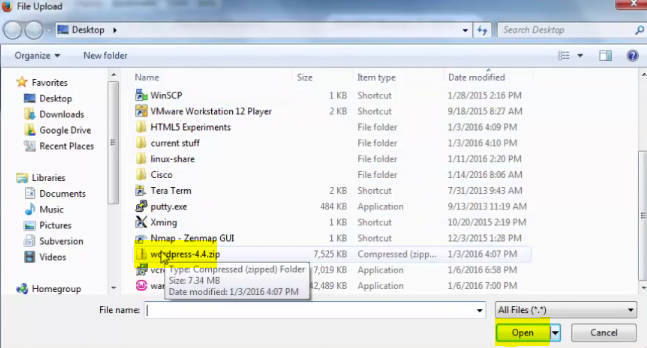
To do that, I’ll click Upload and then I’ll select the file.
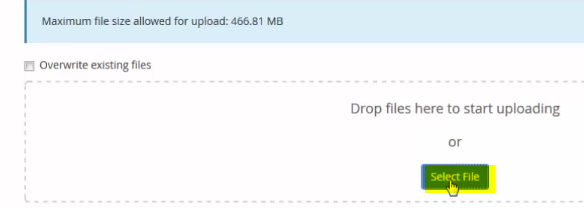
Right now, I have it on my desktop. Scroll down to it and there it is WordPress 4.4. You can see it’s uploading right here.
You can see it’s uploading right here.
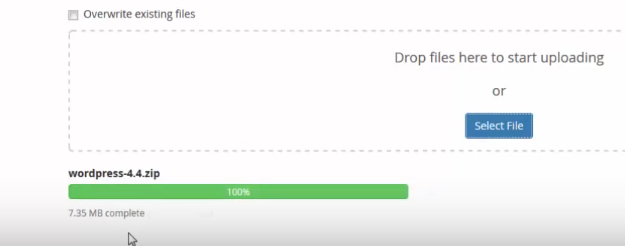
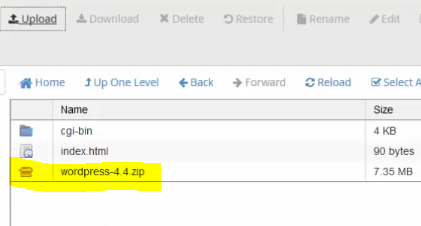
It looks like it’s done uploading, so I’ll press Go back to my home folder here and there it is.
Extract the Uploaded WordPress Archive
Now, what I need to do is extract this archive.
I’ll right click press Extract.
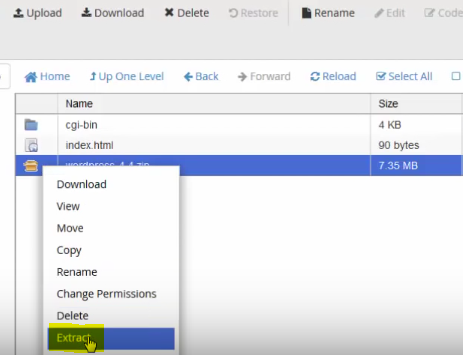
Then I’ll just click Extract files.

Looks like everything extracted. It shows me the results here of all the files.
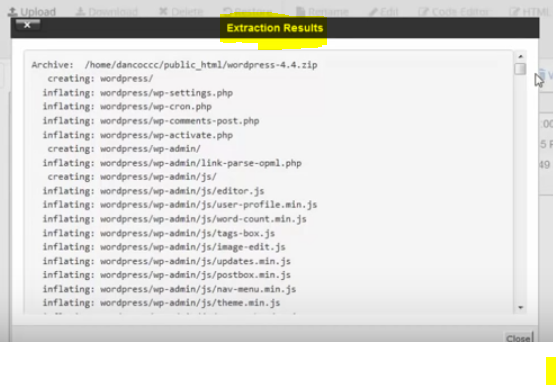
I can click Close. I could also have clicked on this file and then click the Extract button here.
So, as you can see it’s extracted into a folder named wordpress.
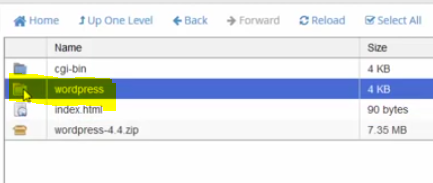
If I double click on this folder, inside, I see all the necessary WordPress files to build a WordPress website.
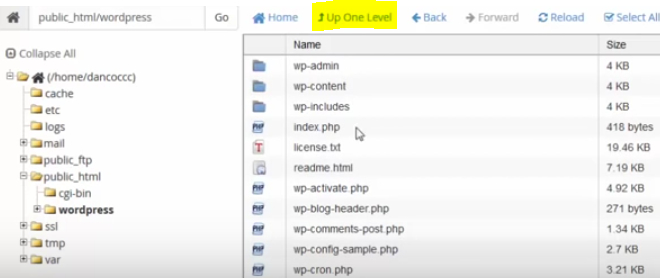
Let’s click up one level and I’m going to change the name of this folder from wordpress to site1.
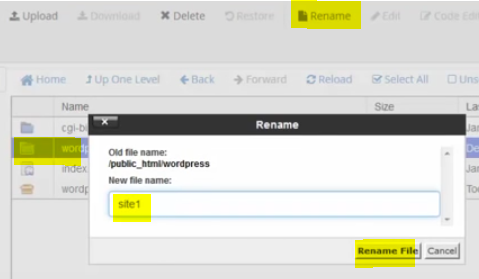
I’ll select it and choose Rename. Now rename it to site1 for my first website.
Okay so now WordPress is in this folder site1.
Set up Your WordPress Site
Now, setting up this site is as easy as visiting my website. When I go there, there’s my Hello Everyone page.
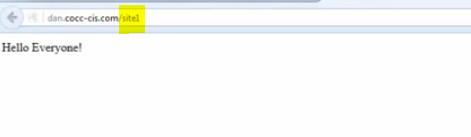
This WordPress website is in a folder named site1. What I’ll do is I’ll put in a /site1 and hit enter.
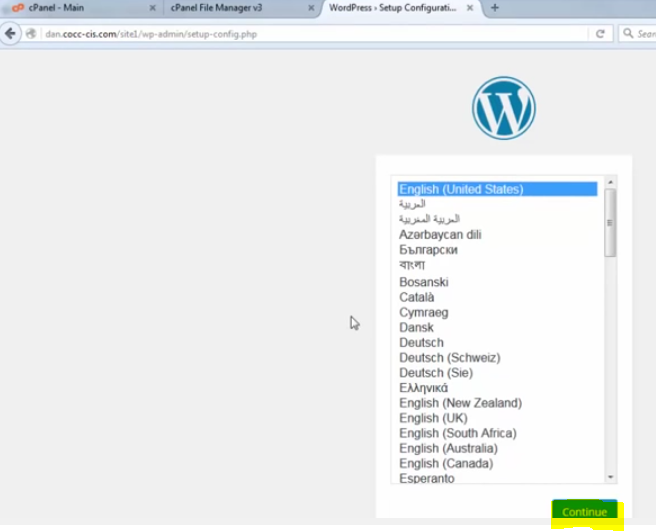
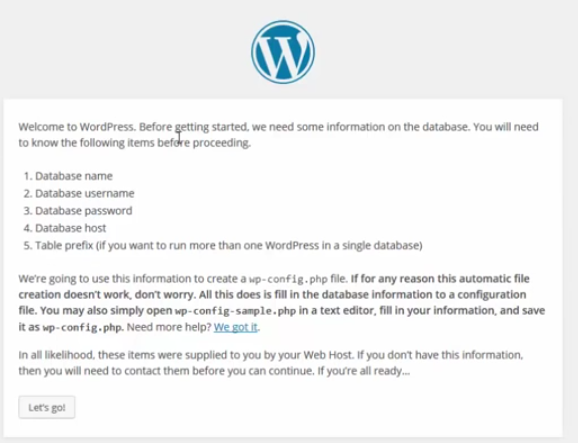
And you can see there’s the prompt to install WordPress. I’ll click continue, and now it says that I’m going to need my database name, my database username, database password, database host and table prefix.
Setup Your Database
Now I haven’t set up a database yet, so I’ll go back to my cPanel.
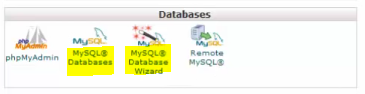
There’s File Manager and then here’s my cPanel. To create the database, I’m going to use the MySQL Database tool right here.
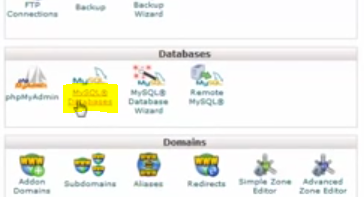
I could also use the MySQL Database Wizard if I want, but this one’s nice and easy and I like the MySQL Databases. I’ll click on it and right at the top it says Create New Database.
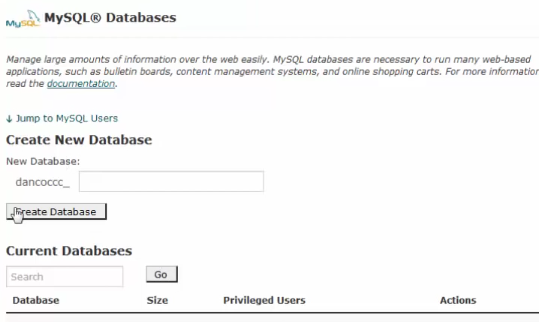
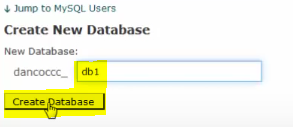
The database name will be my user name prefix plus whatever name I give it. So, I’ll put inhere db1 for database 1 and I’ll click Create Database.
I’ll click Go back.
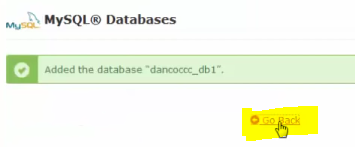
The database has been created. I can see it if I scroll down to Current Databases.
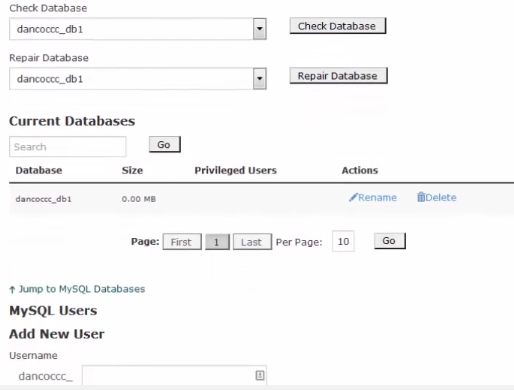
There it is but it doesn’t have a user. Right, so there’s the database db1, but no user.
Create Database Username
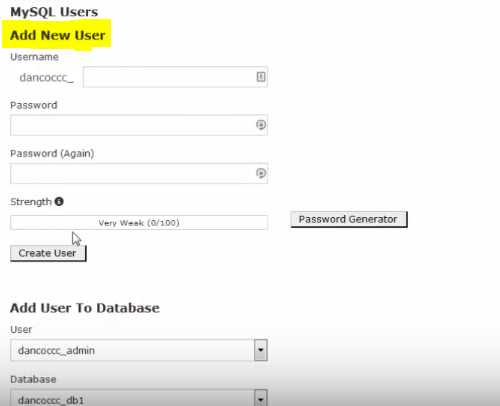
Now I need to create a user and attach that user to this database with All Privileges. If I want to create a user, I need to use this tool here Add New User.
I already have a couple users. But if I wanted to create a user, all I do here is put in there username underscore. And put in user, and then I would put in the password here and type in the password.
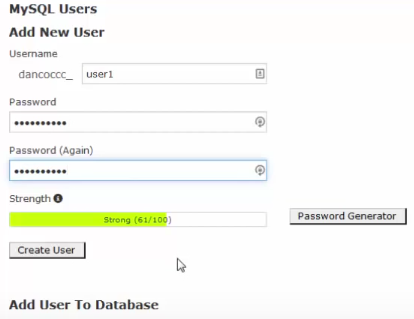
Let’s just do it dancoccc_ let’s say user or I could put admin or whatever. I’ll put user1.
I’ll type in a password let’s say mypass2016. That’s not a very good password, but it’ll work just for the moment. I’ll create the user and so it’s done.
There’s my user, so now I’ve created a database and I’ve created a user. Now, what I need to do is attach that user to the database.
Add User to the Database
To do that, I go all the way to the bottom and I click Add User To Database.
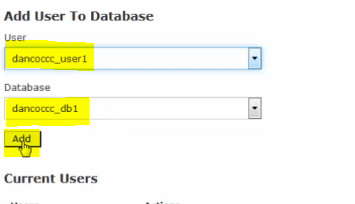
I want to add dancoccc_user1 to dancoccc_db1. Don’t forget the underscores.
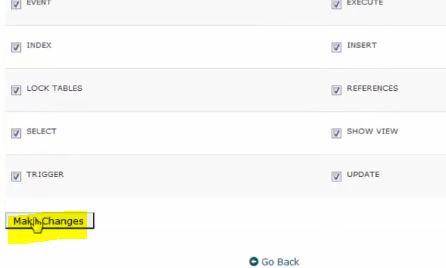
I’ll click add and then I need to set the privileges it needs to have. The user needs to have all privileges to the database. I’ll click All Privileges.
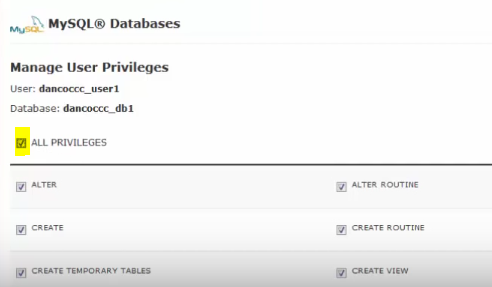
Scroll down and click Make Changes when you’re done to verify.
What you want to do is scroll down here look at your Current Databases. You should be able to see your database. There should be a user.
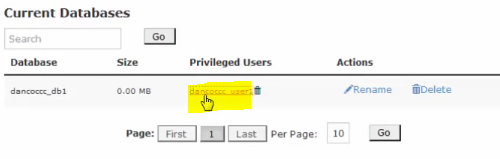
And if you click on the user, you should see that the user has all privileges to that database.
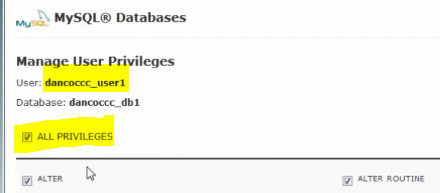
That’s very important.
Now that I have that user account, I can go back to Home.
And I can go back to my WordPress setup configuration page and I can move forward.
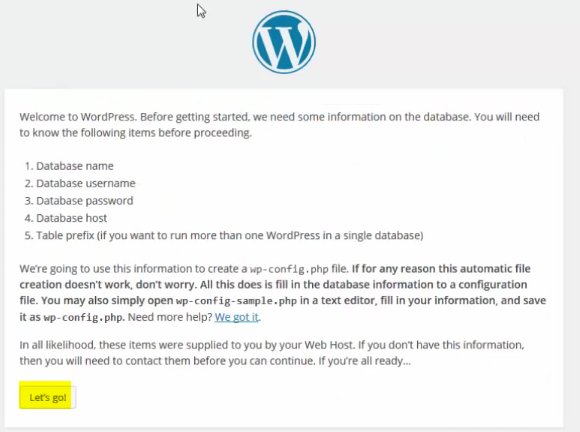
I’ll click Let’s go and now I can put in my information. The database name, the user name, the password.
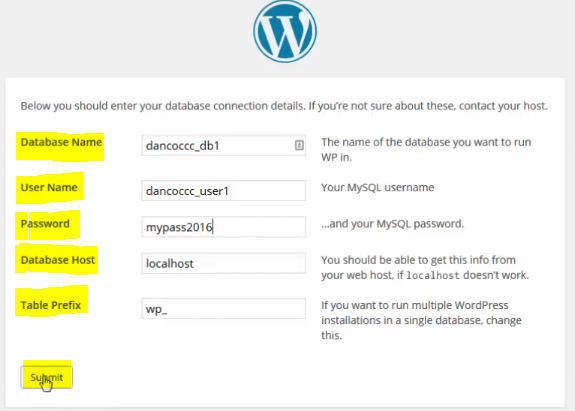
In fact, the database host is localhost because the database exists on this local web server. The database is on the localhost or on the local web server.
For table prefix you can select to change this if you want multiple WordPress installations into a single database. I’m not going to do that. If I want to do another WordPress installation I put that in another on a different database.
I’ll just click Submit and if you see this screen, that means that your user account was able to talk to the database and you’re good.
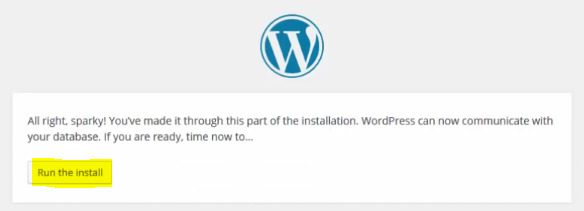
Install WordPress
All you need to do is click Run the Install.
Now on this welcome screen you need to set up some basic site information including your site title.
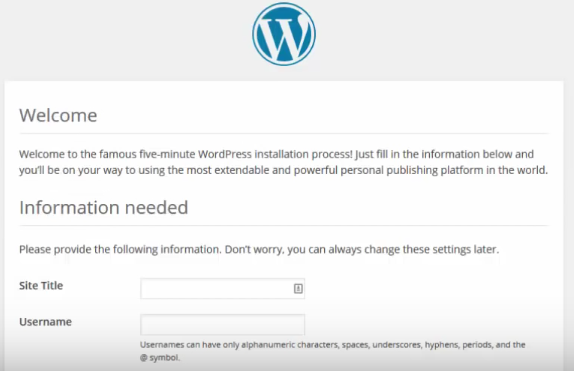
I’ll put a site title, username. This is different from the database username. It is your admin user name for your website. That’s the user account that will manage your WordPress website. I’ll just put let’s say dan_admin.
For your password I’ll just use the same password again since I’m going to delete it afterwards. Notice it’s very weak. I’ll confirm the use of this weak password because it’s so weak I have to confirm that I’m really want to do this.
I’ll put in my email account. Search engine visibility, Discourage search engines from indexing this site. If you’re planning on having your site live on the web and you want search engines like Google or Yahoo to find it, then I wouldn’t checkmark this.
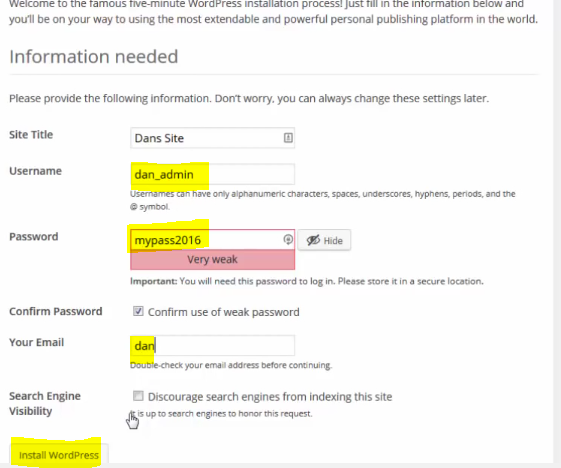
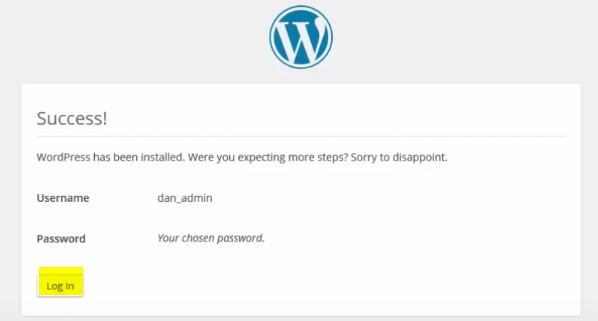
All right. Looks like I’m good to go and all I need to do is click Install WordPress and the installation is complete.
I can log in now. I’ll put in my login dan_admin my pass2016 and login.

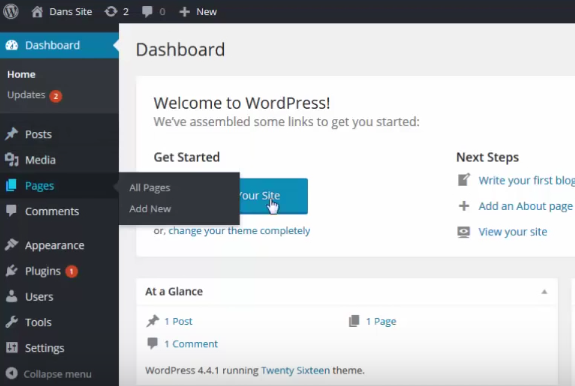
I’ve logged in successfully and that’s wonderful. Now, I’m ready to create posts, create pages and manage my site.
Check Your New Install
I’ll close the window, open it up again.
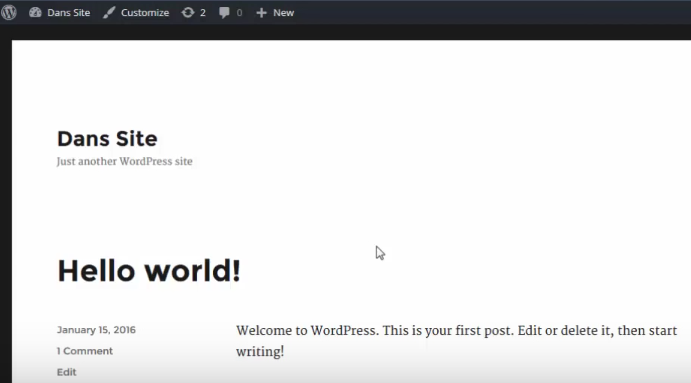
This is what a new install of WordPress in WordPress 4.4 looks like out of the gate. Just some default content in there. Just to get started now, if I want to get back to that administrative portal where it can start adding posts, what I can do is up here in the URL after the last forward slash, I can type wp-admin and hit enter.

It takes me to this administrative login page. Let’s see if I log out. That’s what it would look like logged out.
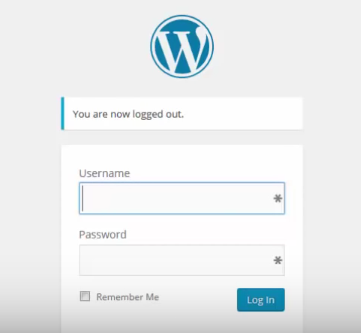
In other words, if I put in /wp-admin again it looks like this and then I put in my username and my password and I’m ready to manage my site.
Conclusion
That’s it. In File Manager, we had to upload WordPress, extract it into a folder, then we had to visit that site to start the installation.
We also needed to go to cPanel and go to the MySQL Databases and create a database. Then create a user for the database and then attach that user or add that user to the database. Once we’ve done that, we also have to set the permissions and give it all privileges to the database.
If this tool is too much for you, if this MySQL tool is a little too complex for your, intimidating, you can also use the MySQL wizard. And this walks you through it step-by-step. As you can see it just prompts you for exactly what you need and it creates it for you.
Well I hope that helped you out and you’re ready to manually create a WordPress website on your web hosting account. This will help you do it if you have cPanel.
Thanks for reading and please leave a comment to let me know if this was helpful.
Cheers!