Last updated on June 26th, 2022 at 12:51 pm
Are you looking to create your first WordPress website or blog? If so, you need a web host to install WordPress on.
In this tutorial we’re going to be reviewing SiteGround which is one of the most popular WordPress web hosts.
I’m going to show you how I created my website in just minutes after signing up. I’ll walk you through the different plans and pricing to find the best value to save you a ton of money.
I will show you how to install and start with WordPress and finally test performance and reliability. Keep reading to find out more.
Choosing the right hosting plan at SiteGround
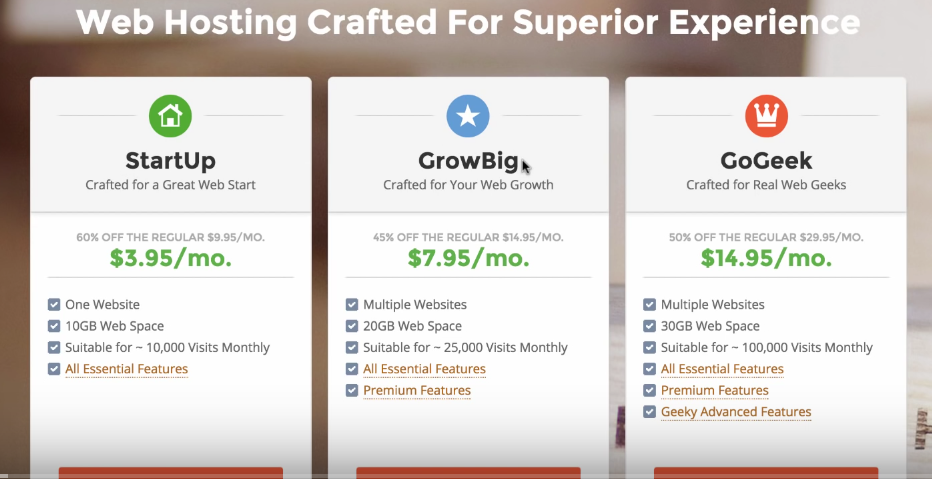
Okay, so as you can see here we have three different shared web hosting plans to choose from.
- StartUp
- GrowBig
- GoGeek
Now, I’m going to give you some advice on helping you choose the right plan for you along with recommending my favorite plan for beginners looking to create their first website.
Right off the bat, my first piece of advice is to simply go for the most web hosting that you can afford.
I say this because whichever web hosting that you can afford is going to be the best value to start with. The reason I said this is because, look at these prices.
I mean, if you look at the subtext you see here that this StartUp plan is 60% off, the GrowBig is 45% off, and the GoGeek is 50% off the regular price. These prices are all introductory. They’re all promotional and they are limited pricing or they’re only offered for limited time.
What this means is that if you were to, let’s say, start off with the StartUp plan. And you change your mind and you want to go up to the GrowBig. Then you may not be able to pay the 7.95 per month. Or that price may not be offered.
It actually might be the 14.95 per month. Which is almost double the cost of the GrowBig if you were to start with a GrowBig from the get-go. On top of that, in terms of value you’ll also get a lot of features. And you get increased performance the higher up you go.
Great Performance & Caching System
If you go from the StartUp to the GrowBig, you get a feature known as Super Cacher for great speed which is listed below. And what this means is that you get a caching. Which basically is when you visit a website and you download a portion of that website. So that when you visit it a second or third time, it loads up in about half the time as the first visit.
Caching is very important especially for a WordPress website with a ton of photos, videos, plugins. Caching is what will decrease your load times and make your website perform a lot faster as compared to let’s say the StartUp plan.
If you want even more performance going up to the GoGeek plan, you get fewer accounts on servers. So by definition shared web hosting means that you are sharing a single server with multiple users.
If you have less users on each server, this means that you have more resources which are going to be powering your website. So the more resources. then the faster load times. And the more users you can have concurrently on your website without experiencing any hesitation or lagging, load times etc.
So, as I said, if you can go for the GrowBig or the GoGeek, then that would definitely be my recommendation.
Host Multiple Sites on the Same Hosting Account
Another big feature which separates the GrowBig and the GoGeek from the StartUp plan is that you can host multiple web sites along with twice or three times the amount of web space. Not to mention suitable for 25,000 to 800,000 visits per month.
Multiple web sites. What this means is that you can host unlimited web sites and unlimited domains. With the StartUp plan you only have one website and you’re limited to that single website.
And you know, when I started out I created my first website. Then about a couple months later I realized that I didn’t love the idea as much as when I first started. And I want to create a new website with a new domain.
The problem is, if I went with the StartUp plan, then I couldn’t pursue any other ideas on without either purchasing additional hosting or upgrading to the next plan. And if you were to start with a StartUp plan and then change your mind down the line and upgrade, then this price of 7.95 per month may not be offered to you.
You may end up paying the full 14.95 per month. Which is pretty much twice as much as you would be paying if you were to just start off with a GrowBig plan. So once again, I recommend that you go for the most hosting that you can afford.
The best value hosting deal – GrowBig
My favorite web hosting plan for beginners is probably going to be the GrowBig plan.
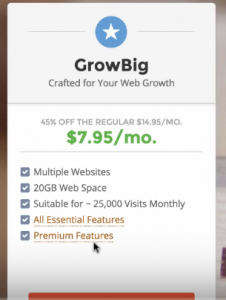
I think this presents the best value at 7.95 per month and the ability to host multiple websites, multiple domains.
And then you have all the premium features in addition to all the essential features which really takes this plan to the next level.
You’re going to get faster load times. You’re going to get more security through the one year free wild card SSL if you are going to create a business website of any sort.
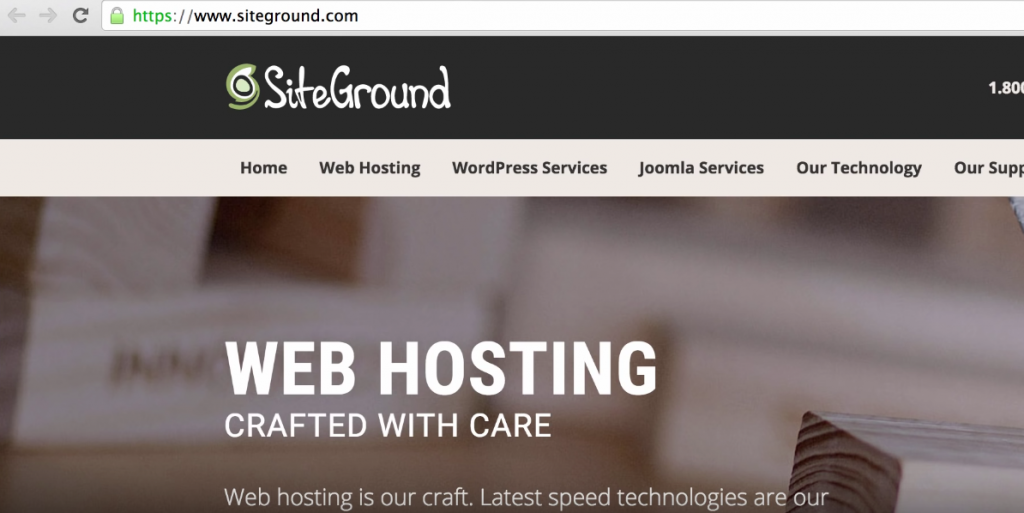
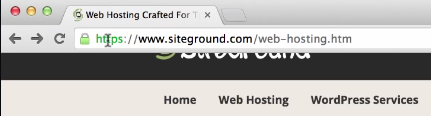
You definitely want to have that SSL which secures your website. As you can see here you see this lock and HTTPS. This is a secured website through SSL. If you were to purchase the GrowBig plan or the GoGeek, you would get that SSL for free for the first year. That would totally secure your website and add credibility to your domain.
I recommend going for the GrowBig if you can. I would go for the GoGeek as you can see these prices. This really is an investment, it’s an investment in yourself, your online presence, your brand, your business. So if we’re talking eight bucks a month, fifteen bucks a month, you know that’s just a couple fast food meals. Or a few cups of coffee at Starbucks and that’s really not that expensive.
In terms of business expenses and things that you can invest in a website is relatively affordable compared to a lot of businesses out there. That’s why I recommend to go for the best plan because this really is an investment at the end of the day. And there’s no better investment than investing in yourself.
The next step is to choose a domain.
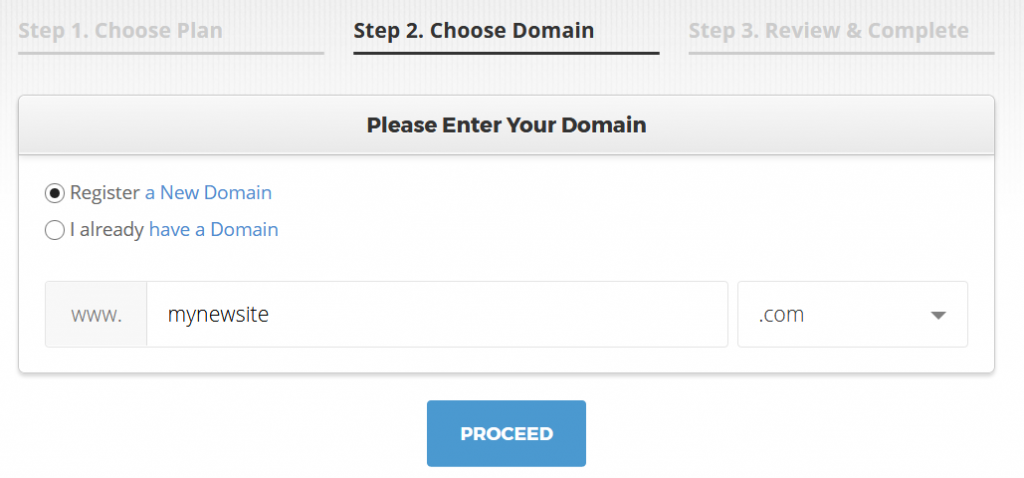
So the domain name, the URL is like yourwebsite.com. It’s your website’s name and with this, you want to get kind of creative. Because there are a lot of domains that will probably be taken up. You want to just experiment and just try different things out.
Once you find the domain that’s available, click Proceed to move on the step 3.
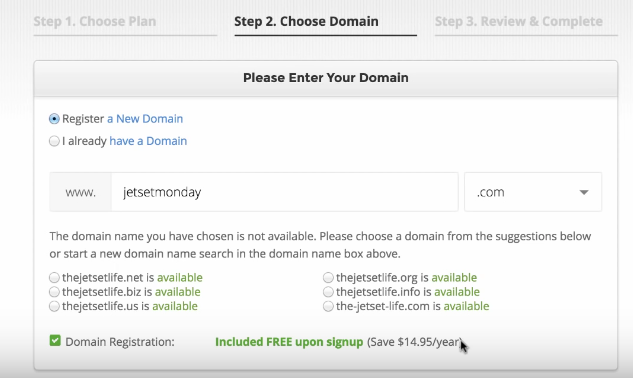
As you can see here, domain registration is included free upon signup. So this is usually about 15 bucks a year.
Sometimes it’s more expensive such as with WordPress. They charge 18 dollars per year for a custom domain, but one cool thing about SiteGround is that you get your domain completely free with each web host signup. So we’re going to click Proceed. And if your domain is available, it’s going to load up and it will take you to step 3.
It will tell you ‘Congratulations your domain is available’. So just fill out your information here, fill out your payment information.
Enter Your Purchase Information
After you fill out the above information, scroll down to the bottom where it says Purchase Information. Here is where we get to finalize the length of the term of our web hosting.
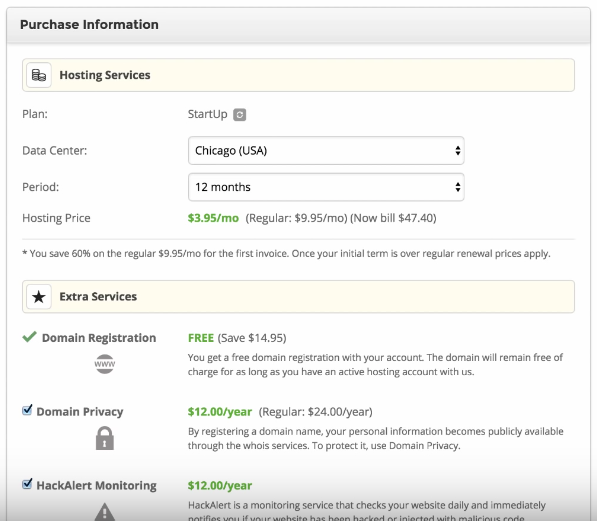
Choose Your Datacenter Location
One cool thing about SiteGround that other web hosts do not offer is that you can actually choose your datacenter. That’s based on which location is closest to you in proximity. For me, since I’m in California, the data center in USA automatically loaded which is in Chicago.
Now if you live overseas, if you live in Europe or another country or continent, you can choose whichever datacenter is closest to you. So, I think this is an extremely cool feature that is exclusive to SiteGround.
With most of the web hosts you don’t know where you’re getting the hosting from or whatever. But with SiteGround you can actually choose your data center and by choosing the data center that is closest to you, you can ensure that you get reliable service from your servers. So, for me I’m choosing Chicago.
And then you get to select the period usually. When you purchase hosting is always usually bought in annual installments. So you buy one year, two years, three years and you pay for it all at once instead of monthly.
One cool thing I guess with SiteGround is that you can do a one-month trial. It’s a bit more expensive and honestly I don’t recommend it.
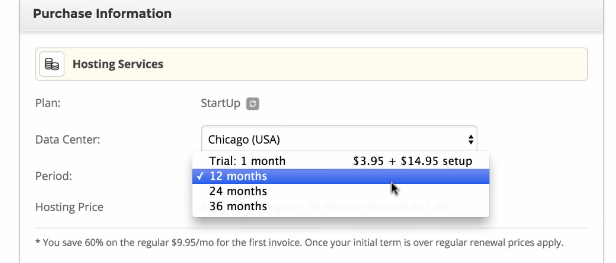
I recommend at the very least to go with 12 months. Go for the one year plan. Because when you go for the one year plan you commit yourself to your website for a period of one year. That is a ton of time to start up build, grow and expand your website. One year is also going to be the cheapest option here next to the one month trial. So that’s why I recommend it.
Some Extra Services to consider
We’ve already chosen the GrowBig plan. But here we also have these extra services which are in addition to your plan of choice.
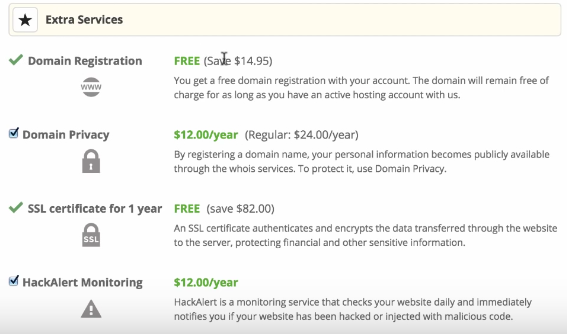
As you can see here, domain registration is totally free. Says 14.95.
One thing that sets SiteGround apart from a lot of other web hosts is that you get your domain free for life. Other web hosts simply do not offer this or some of them offer a free domain for the first year. But every year after that you’d be paying for your domain every single year which is an additional cost.
Whereas with SiteGround you get your domain free every single year for life. Saving you fifteen bucks per year and in the long run you know you can save quite a good chunk of money.
Domain Privacy
Now let’s move on to Domain Privacy. This is a feature which for any web host I think is an absolute must-have.
What is domain privacy?
Domain privacy basically protects your domain from people looking up your Whois information. The way that domains work is that when you signup and when you register a domain you actually have to give your legal name. And your address because this is just in compliance with ICANN and the Internet.
With that said, domain privacy basically protects your domain from ever being able to be looked up and people finding out your legal name, your address and your phone number.
You want to have this domain privacy because it’s the Internet. You don’t really want people prying into your personal life or whatever. So, domain privacy basically protects very sensitive personal information from being accessed through your domain.

As you can see here this is included into the GrowBig plan.
But if you were on the StartUp plan and SSL certificate on, as you can see here, ‘authenticates and encrypts the data transferred through the website to the server, protecting financial and other sensitive information’.
Once again, this is another feature which is for security and privacy purposes.
SSL Certificate & Security
As I explained earlier, SSL is what gives your website sort of this verified status of having a lock and HTTPS. If you were to create a business website for example, an SSL certificate is a must-have in my opinion. Because it simply offers credibility to your business, to your website, your domain and it’s something that is definitely worth on the price.
As you can see, with the GrowBig you save eighty two dollars by getting this SSL certificate for the first year completely free. That’s another reason why I would go for the GrowBig plan if not the GoGeek, because you get this amazing feature for free.

The last feature here is Hack Alert Monitoring at $12 per year.

As you guys know, the Internet is a beautiful place. But it can also be a dangerous place. If you were to create a website, you’re putting yourself out there. You’re putting information out there and you’re putting your work out there where anyone can view.
And some people can even access or even mess with it time and time again. I’ve seen websites that have gone hacked, that have lost precious information or basically lost work overnight.
Hack Alert Monitoring is basically just another extra layer of piece of mind.
For me the must-have options is definitely domain privacy. If I were to pick one of these services. The domain privacy is the service that I would have on every single website that I register or sign up with. Because it is just that extra peace of mind that is relatively inexpensive at just twelve dollars per year. It’s just something that I’d like to have because I’d like to have my life private from my online presence.
With that said, it’s just peace of mind so that people can’t be looking up sensitive personal information.
Complete Your Registration & Access Your Customer Area
Last thing is to check this which I think is already checked. It’s the Terms agreement and then just click Pay Now to complete your order.
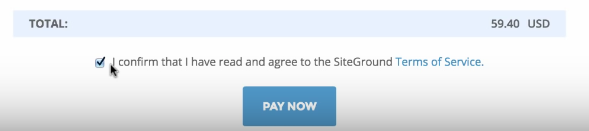
All right. So after clicking Pay Now your order gets processed. You’ll come to this page which is a confirmation/Thank-You page. So your account is now being created. Once it’s ready, you’ll be able to log in to the Customer Area.
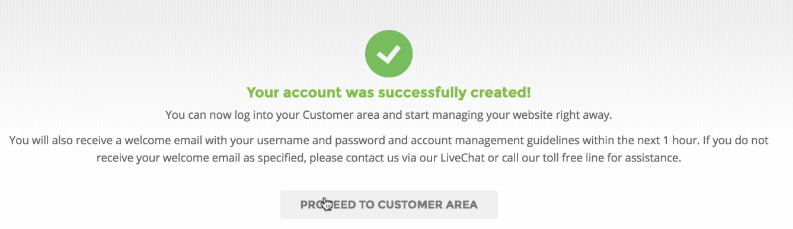
As you can see here, our account has finished being created. We’re going to proceed to the Customer Area. When you first start, you’re going to get this message saying Welcome to the SiteGround account setup wizard.
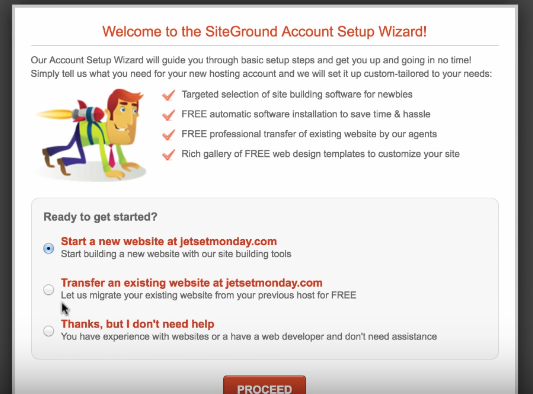
Honestly, we can just click ‘Thanks but I don’t need help’ because I’m going to help you out. I will walk you step-by-step on how to install and begin with WordPress.
Click that hit Proceed and this should take us to our Dashboard of your Cusotmer Area.
Install WordPress at SiteGround
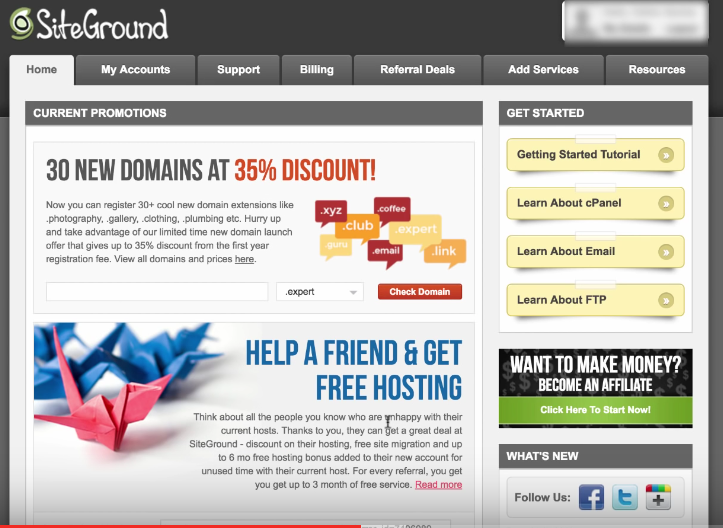
Alright. So once you get into your account, to install WordPress, all we have to do is go into My Accounts. Then you’re going to go to cPanel here at the top.
Let’s access the cPanel. So cPanel is sort of a universal dashboard that many of the top web hosts use.

For SiteGround, it’s nice that they use cPanel. So that if you’re familiar with other web hosts, if you use other web hosts before them, you should be able to navigate pretty easily through SiteGround.

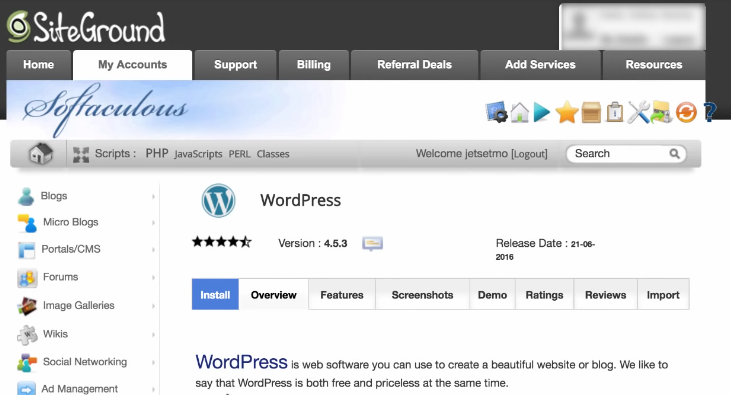
With that said, if we want to install WordPress, all we have to do is scroll down. You can see there’s an entire category called WordPress Tools and then you see WordPress Installer. This is a WordPress one click install much like other of the top WordPress friendly hosts.
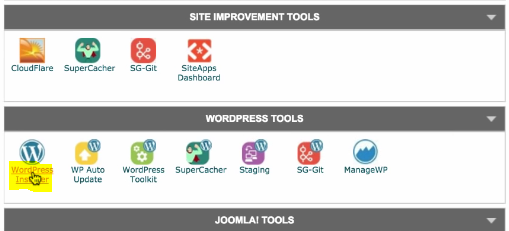
To install WordPress all we have to do after we click that WordPress install is to click this blue Install on the top left and then you’re going to have this information.
Here you can just scroll past this. Here we have our site settings where you can just specify the name of your blog and then just a short tagline as you can see here.
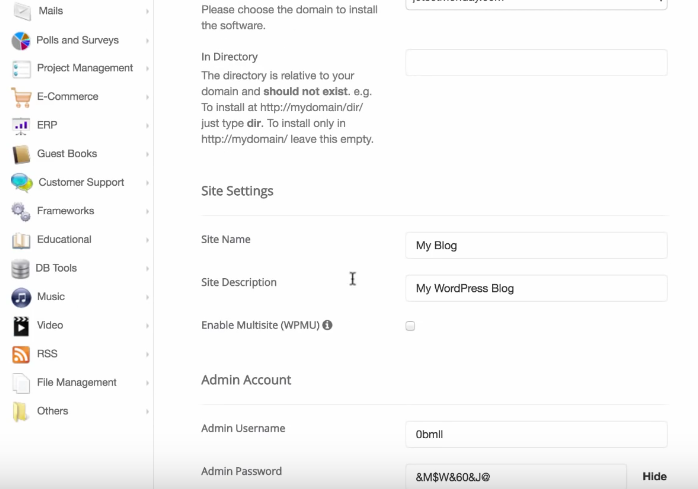
Then you scroll down to this Admin Account.
Make Note of Your Admin Login Credentials for WordPress
This is very important. Make sure that you write down your admin username and password. That’s because once we download WordPress, we’re going to need this to login for the first time.
So scroll down to the bottom. You can skip everything else. Then just click Install when you’re ready to go.
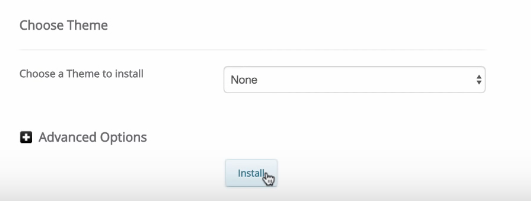
As you can see here, you’ll be greeted by a progress bar which will tell your progress of the install. And as you can see WordPress was installed in just seconds.
It was that easy. All we had to do is click a couple buttons, enter some info and WordPress is installed on our domain.
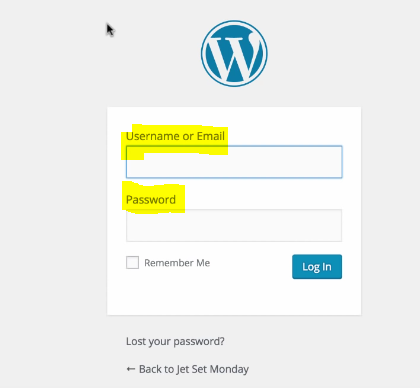
What you want to do is you want to open up this admin URL which will take you to the WordPress login. You’re probably going to be using this URL a lot to log into the backend of your website.
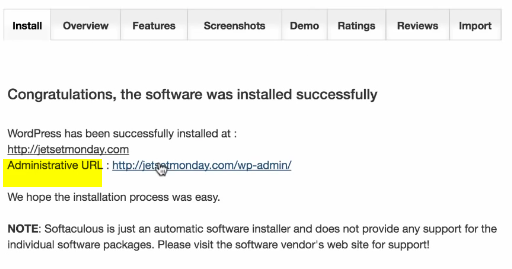
Log in to your WordPress site hosted with SiteGround
You might want to bookmark it now. Take your username and password that I told you to write down and to save before the install. Then just copy and paste that into this page as you can see here. And then click Log in.
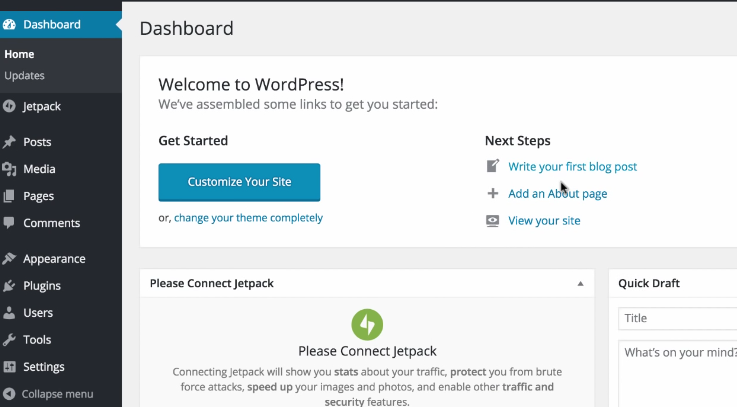
Welcome to WordPress. This is your WordPress Dashboard.
Change the theme and customize the header image of your WordPress site at SiteGround
It’s a completely clean install. What I like about SiteGround is that it doesn’t have a bunch of unnecessary plugins already installed or you.
Some of the other big web hosts which I’m not going to name, they have a bunch of extra stuff on the sidebar. Then immediately when you log in for the first time, you’re greeted by a bunch of upsells, pop-ups etc. None of that here.
Everything is clean. We can just start with a clean slate. So I like that a lot.
Changing the Themes
Now, the first thing that I want to do is I want to change the theme. Because, if we visit website, here at the top left you can see we have a very basic blog theme. And it’s black and white.
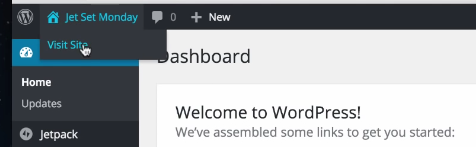
It’s very plain. Let’s go back into the Dashboard and we’re going to change things up real quick.
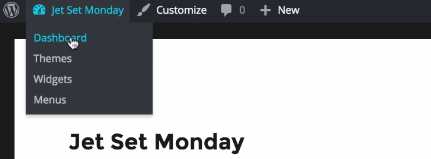
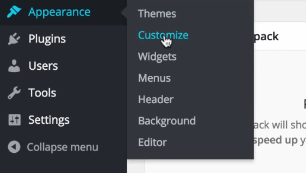
We’re back in the Dashboard. Go into Appearance and then Themes from the sidebar.
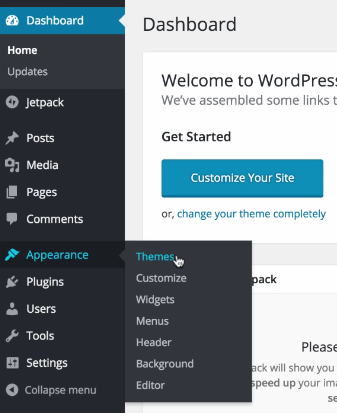
Themes are what completely transform your website. They allow you to totally change the design and the overall look and feel of your website which is just amazing.
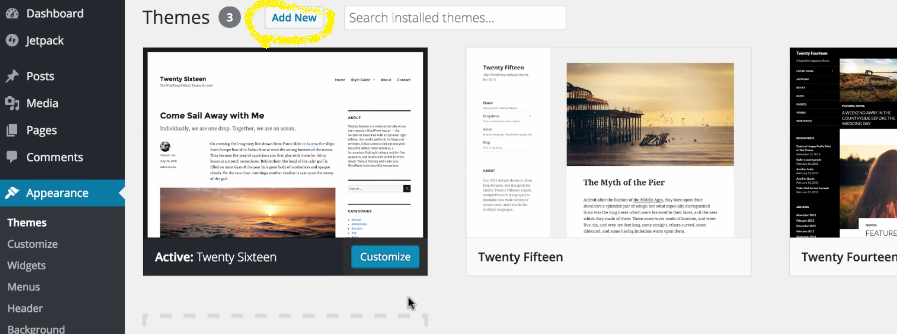
If we click Add New here at the top, you’ll see there are thousands upon thousands of beautiful themes at your disposal. You can use any of these for free. They’re free to start with.
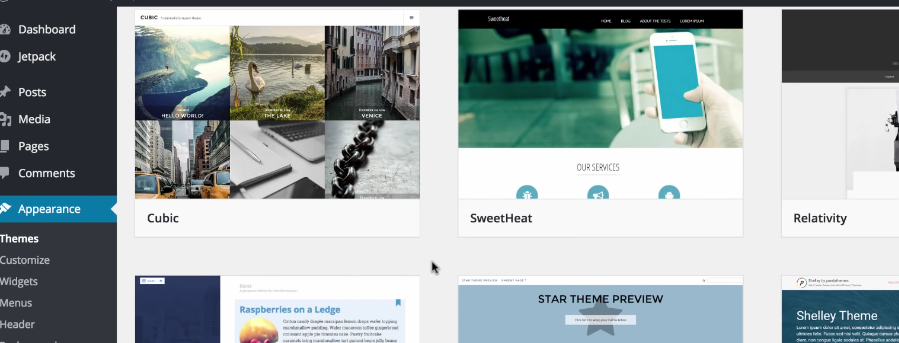
Some of them have a small one-time fee to use the full theme. But for the most part you can start with any of these beautiful, gorgeous themes. That is just one of the things that makes WordPress the best blogging platform on the planet.
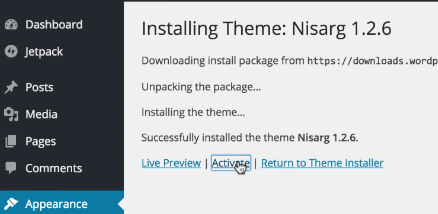
If you like a theme, just click Install and in a matter of seconds, as you can see here, the theme installs. You can click Activate to apply it to your website as your active theme.
We’ve applied this theme. Let’s check it out to see what it looks like. It’s transformed our website from what was the original plain black and white. As you can also see, there are no pictures. So it doesn’t really look much like the thumbnail just yet.
Customize Your Theme
With that said, let’s hop back into our Dashboard. Let’s start to make it look like that thumbnail.
So first thing we want to do is we want to spice up the homepage.
We’re going to go into Appearance and then Customize. So that we can add that big header image right here behind the website name and tagline to make our website look a lot cooler.
Okay, so the first thing that we want to do is we want to change that header image.
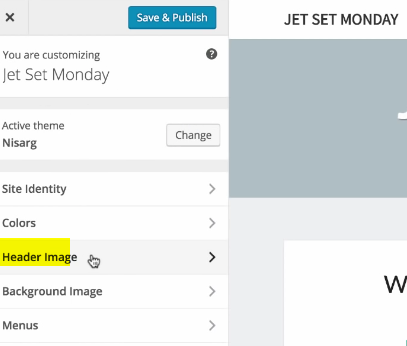
To do that, you just go into Header Image as you can see here. You can upload your own header that has the dimensions that are listed here. 1600 by 400 or you can choose one of these suggested or pre-loaded headers that come with a theme.
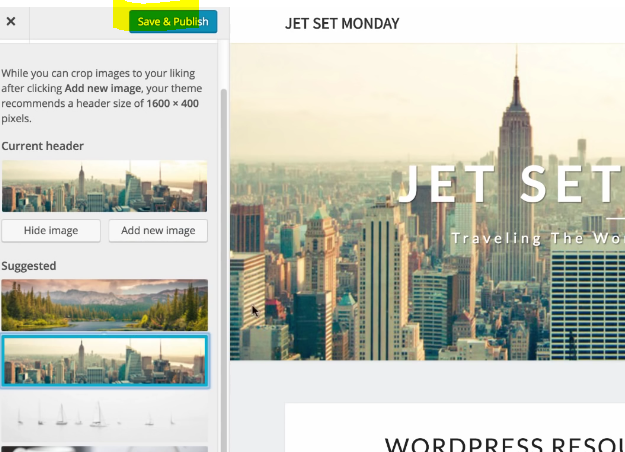
I like this one. So I’m just going to select it. As you can see, it has already transformed our website on up at the top we’ve added this image. You can also switch to another header. Or upload your own by clicking Add New Image and then just dragging and dropping your header with those dimensions.
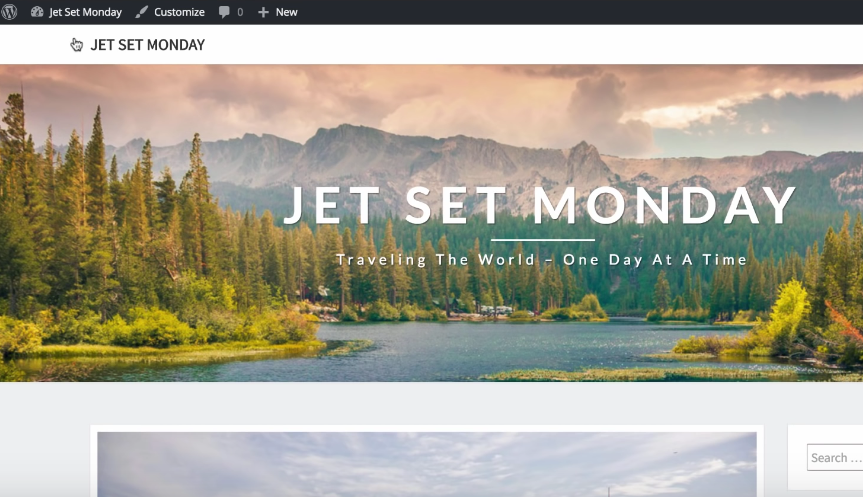
This looked exactly like the thumbnail. All we had to do is just customize the header image. Instantly our website is starting to look pretty good already on.
Create a new blog post, add new content and images to your WordPress site hosted with SiteGround
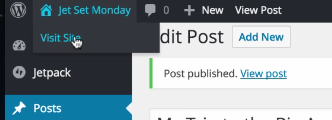
So, what I’m going to do is to save this and then Publish that just so it saves the header image. Then we’re going to go back. And then we’re going to add in a blog post, so that we can start to add stuff to our website.
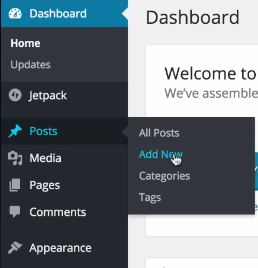
We’re going to start to add content to our website by adding a blog post. To add a blog post all you have to do is go into Posts in the sidebar and then click Add New. So this post you have your title bar here and then you have a text box where you can write your article.
Then also add pictures, images, whatever you want. Then after you’re done, you can just click Publish. We’re going to just title this My Trip to the Big Apple.
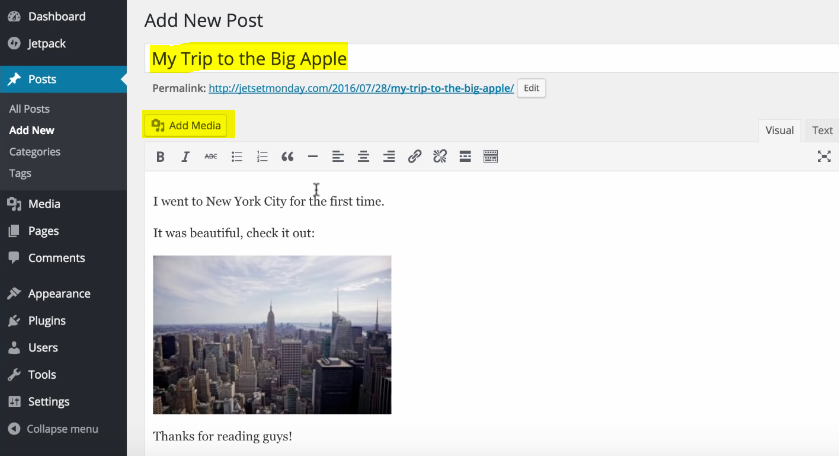
All right, and then you can just write whatever you want in the textbox. Then include some images. If you want to add an image, all you have to do is click Add Media and then drag and drop your image file onto this page right here. Then once it’s uploaded, you can just click Insert Into Post.
All right, so as you can see I’ve added my blog post. It has a title, it has text, it even has an image.
The one last thing that you want to do is you want to also add a featured image here in the bottom right corner. When you add the featured image, this is what’s going to show up on your home page. As sort of a snippet of this blog post, so we already uploaded this image.
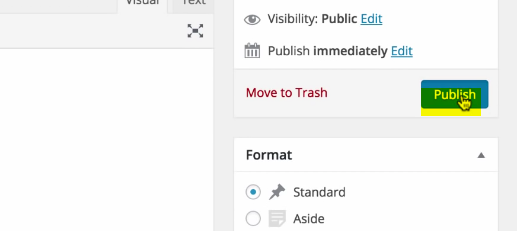
All you have to do is select it and then when you’re ready, you can click Publish.
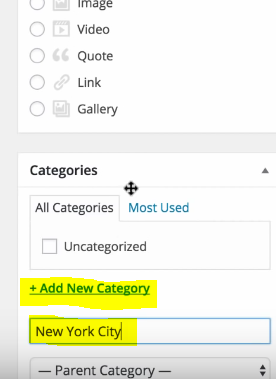
Add Your Posts to a New Category
Before we do that, you can add a category so we’re going to call this category New York City. Click on Add New Category and we’re going to select that when you’re all ready to go.
All you have to do is click Publish and then your first blog post will officially be live on your website.
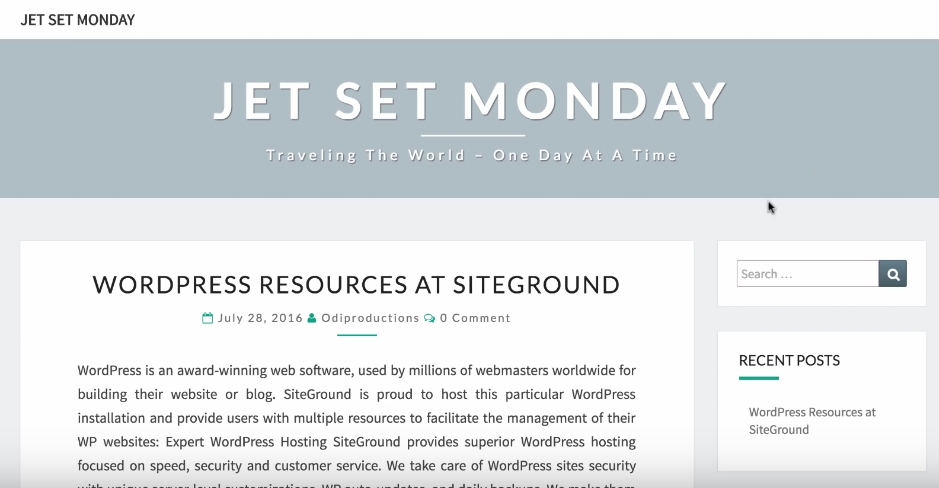
We can just go check out what our website looks like right now by going to the top left. And as you can see here our website has been completely transformed in a matter of minutes.
We have that really cool header image, we have our website’s title and tagline right here up at the top. If you scroll down, we have a huge image and we have the title of our blog posts.
It also has the date, it has the author, how many comments there are. Then it shows a little snippet from the first few sentences of your blog posts and so. This looks really cool already. We were able to transform this in just a matter of minutes. So let’s go back and then let’s do one more thing which is to add pages.
Create Pages for Your WordPress Site
The difference between posts and pages is that posts are those blog posts that you saw that populate on the home page with your recent posts.
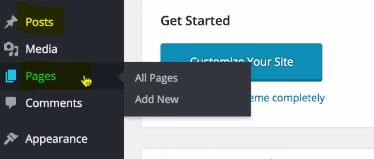
Pages are different because these are basic sections of your website. Pages are like in About Us page or a Contact Us page. They are usually static and they aren’t really like updated as much as let’s say like your blog. So we’re going to create a new page.
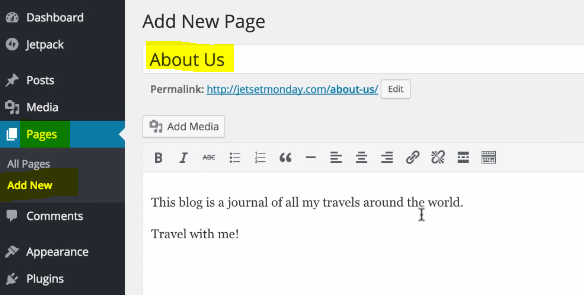
We’re going to create an About Us page. All you have to do is go into Pages in your sidebar, click Add New. Like I said, this is going to be an About Us page. Give that the title and then we’re just going to publish that after we’re done. And then to add this to the top navigation of our website.
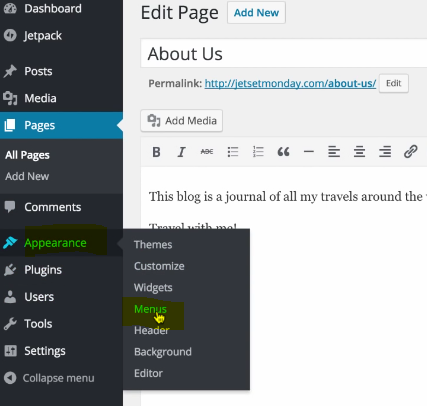
Add a Menu to your Site
What we’re going to do is we’re going to go into Appearance and then Menus, so we can create our primary menu.
We’re going to call this Main Menu and here we’ve added all of our categories and sections.
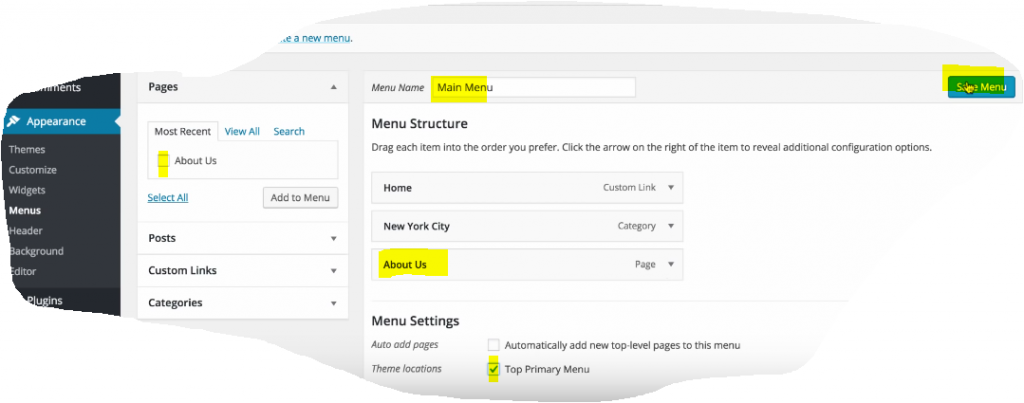
Last thing I do is check this Top Primary Menu and then click Save menu to create that now. We hop back in to Customize under Appearance. Go into Menus and as you can see here we’ve already had the main menu added to our theme. This is what it looks like.
You have the Home page. We have the New York City category which will load up this blog post. Then we have our About Us so this is ready. We’re ready to go.
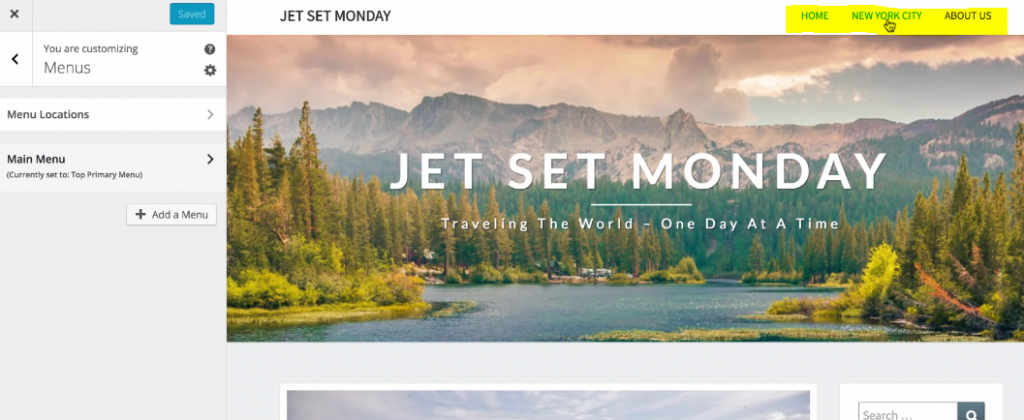
Let’s look at our website to see what we have.
As you can see here we have the top navigation. We have the header image with our sites title. We have the blog posts. If we click in the New York city we’re going to have all the blog posts that have that category of New York City.
Then, if you click the About Us, it’s going to take you to a static page which will say our About Us that we typed in. This is our website so far.
In just a matter of minutes we were able to transform our boring plain blog into a legit travel blog on. So that’s pretty much it. That’s enough to get you started.
Choose anything you want. You can create as many blog posts as you want. You can mess around with customization under Appearance, add plugins.
Basically, this is all the tools that you need to get started with WordPress today. The important thing is to just start now. Because once you start, you can build momentum. And then you can just grow every single day by slowly building and improving upon your website.
SiteGround Performance Test
Now we’re going to do a performance test of our SiteGround made website by using this tool called Pingdom Website Speed Test.
I’ve used this tool before to test other web hosts. So we can see how SiteGround compares to the competition.
I’m just going to type in the name of our URL. Then, since we’re in California, I’m going to test this from San Jose. We’re just going to click Start Test.
Just wait for that to load as you can see in the bottom here on.

Wow, this is very impressive. We just did the raw test.
We don’t have a caching plugin which would help with load times. But that doesn’t matter right now.
These results are stellar for a shared hosting plan such as the one we chose which is the StartUp plan. And that is the cheapest plan offered by SiteGround.
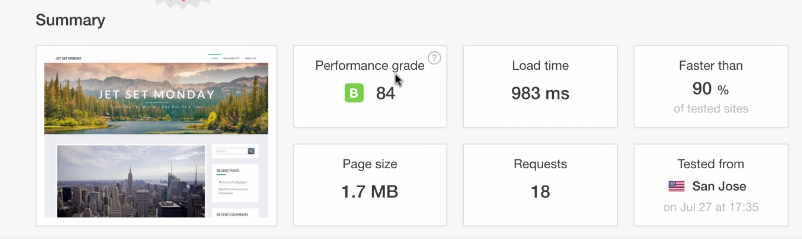
Here we’ve received a performance grade of a solid B and 84. We’ve tested faster than 90% of tested sites. We have a load time of less than one second.
Surprisingly Fast Speed
The thing that surprises me is that our page size is huge at 1.7 megabytes. I’ve done the test for Hostgator, InMotion and A2 Hosting with a smaller page size. And that one tested faster than 80% of sites which is still not bad.
But to load this up in less time is amazing. Our page size is big because of that header image. Also because of our first blog post featured image of New York City.
This is an extremely good value in terms of performance for the money. We went with the cheapest plan which is 3.95 per month. We got a solid performance grade 84, testing faster than 90% of tested websites.
That’s pretty amazing. But I think we can make things even a little better once we add a caching plugin. We’re going to do that real quick.
Further Improve SiteGround Site Speed Performance with a Caching Plugin
Go back into the Dashboard.
A caching plugin is what basically allows your website to be downloaded partially when someone visits for the first time. So that when they visit it again, since some parts already downloaded, it loads up faster. All the big websites do this and it’s a way to cut down on those load times.
So, to add a caching plugin, we’re just going to go into Plugins in the sidebar, Add New. And we’re going to use the same plugin that we use for our Hostgator test which is WP Super Cache.
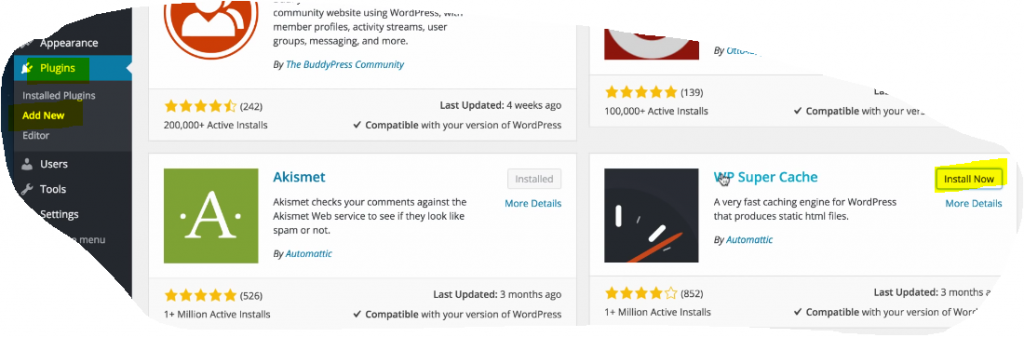
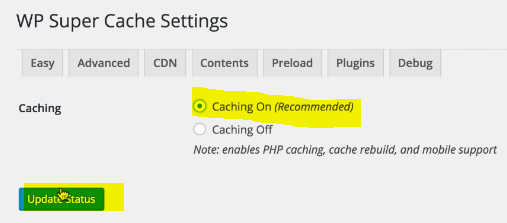
As you can see, 1 million plus active installs. All we have to do is click Install Now, click Activate plugin. Then we’re going to go into the admin page to fully activate it and then click Update status. Then we’re going to dismiss that and we’re just going to load our website once again.

So, we’re going to go back into Pingdom. And then we are just going to reset this test. We’re going to try again and see if we can improve upon that already awesome performance of 84 and 90% faster than other websites.
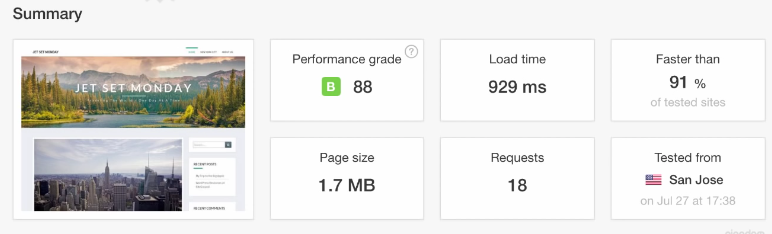
We implemented the caching plugin and there hasn’t been a huge difference. But the performance grade did jump from an 84 to an 88 which is almost an A.
SiteGround – all Pros and no Cons
This is almost unheard of to be honest with you. With shared web hosting at this price, at less than $4 per month. This is a high B which is significantly faster than the test we did for GoDaddy.
I’m not sure if it’s because this theme is much more optimized. But we utilize the same caching plugin. We created a blog post and then another page on the website. So they have the same size which is actually much bigger than that Hostgator page. 1.7 megabytes is pretty big. But the load time is less than one second. And it’s faster than 91% of tested sites.
I can say with confidence that SiteGround is an amazing value for the money. For less than 4 bucks a month you’re getting performance grids almost up in the A range on.
So, that is just unreal. I almost can’t believe it compared to some of the bigger hosts that have tested slower than this. So performance from SiteGround gets two thumbs up.
Conclusion
In conclusion, I can highly, highly recommend SiteGround for beginners looking to start a WordPress website.
Once again, if you want to take advantage of discounted pricing, follow the links. These will bring you to SiteGround’s website and lay this promotion.
Last but not least, if you found this tutorial useful, please leave a comment below. Because it really helps our knowledge base to grow.
Also, subscribe for more WordPress tutorials just like this. If you made it to the end, thank you for reading this tutorial.
I hope you have a wonderful and productive day.