
Last updated on March 26th, 2018 at 07:06 am
If enabled correctly, CloudFlare acts as a DNS proxy for your WordPress site’s web traffic. CloudFlare supports SPDY and HTTP/2 and most of its customers use their service as Content Delivery Network. CloudFlare caches your site’s content and all cached requests are served directly from CloudFare.
There are pros and cons of using CloudFlare and it really depends on the specific situation. My opinion is that using CloudFlare helps with improving a website’s SEO – your site loads faster as content is delivered to your customers on a geography basis, a WordPress site using CloudFlare becomes more secure as the connection between your visitors and your WordPress site is proxied and this really helps stopping direct DDoS attacks on your server.
CloudFlare has 4 different plans – Free, Pro, Business and Enterprise.

Pros of using CloudFlare with WordPress
With a Free CloudFlare plan you get DDoS protection (even if it is limited), shared SSL certificate and actually you can add as many domains as you want with a free CloudFlare account. CloudFlare is the CDN that has security as a priority. It’s not just a content delivery network such as MaxCDN but it also has control over bad bots crawling your sites for example.
Manually enable CloudFlare for a WordPress site
Some hosting providers use a cPanel plugin that gives you the option to enable CloudFlare automatically from your account. However, hosting providers such as GoDaddy don’t offer this cPanel feature. Both webmasters and publishers switch to CloudFlare because of issues with their websites’ speed. As switching to CloudFlare means changing your DNS settings, you may need to first check if your current hosting provider is not the actual problem related to your site’s speed. If that is the case, you should first try to find a better Managed WordPress hosting provider such as A2 Hosting or Bluehost – actually these two provide one of the best CloudFlare hosting in the industry. However, if you don’t plan to change your host you can follow these steps to enable CloudFlare for your WordPress site.
Sign up for a new Free CloudFlare account:
![]()
Enter your email and password and click on create an account:

Now enter the domain name of your WordPress site:

Watch The video while CloudFlare scans your DNS zone and once finished, click on Continue:
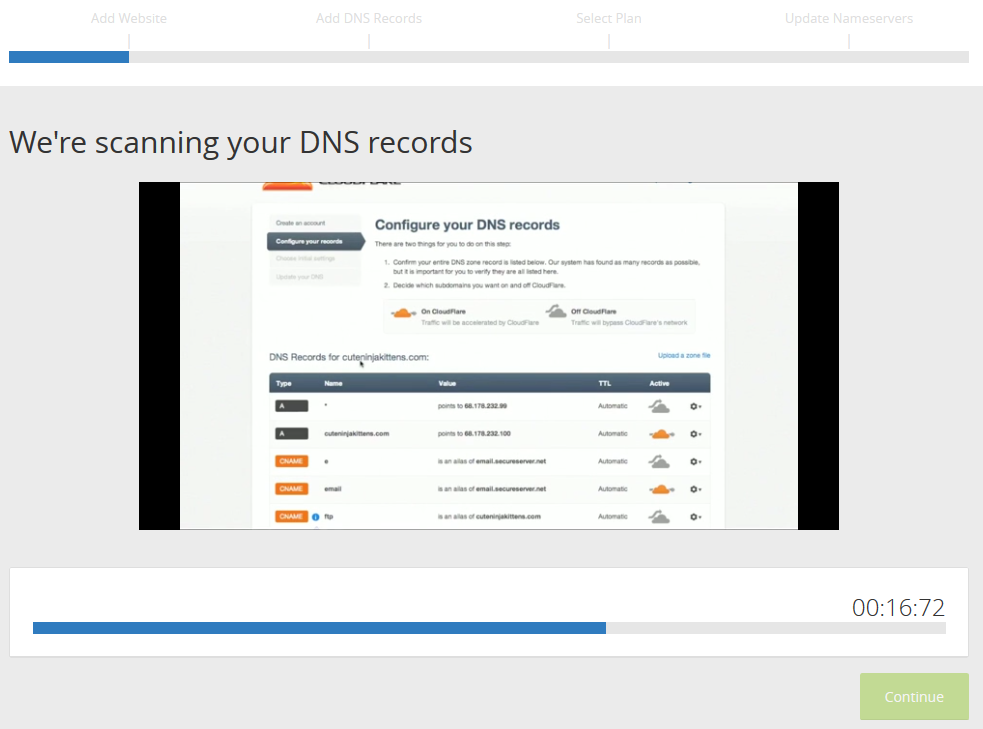
The next screen is for verifying that all of your DNS records are listed below:

Then you will need to choose the type of plan you want with CloudFlare. Let’s go with the Free one and click on continue:

Next, you will need to change your domain’s name servers. CloudFlare assigns name servers automatically and the ones that you need to use should be shown on the next screen called ‘Change Your Nameservers’. Now copy the name servers provided on the screen and use them to point your domain name. Your site will remain available and there will be no downtime when you point your name servers to the ones of CloudFlare.